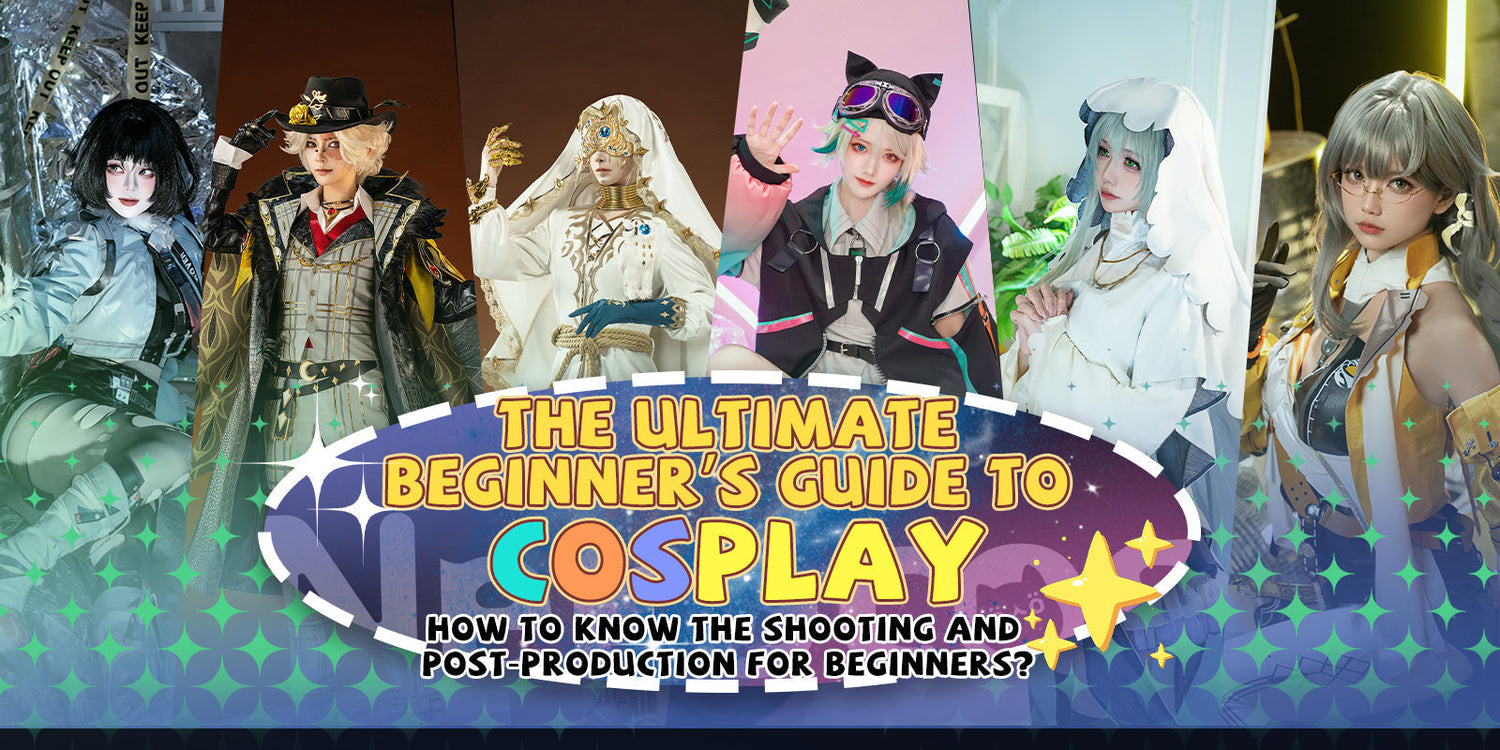
The entire process of cosplay creation culminates in the crucial stages of photography and post-processing, where your three-dimensional physical portrayal transforms into a two-dimensional work of art. Many beginners often underestimate the importance of this phase, assuming that exquisite costumes and props alone will automatically yield outstanding results. In reality, professional photography and post-production can elevate a great cosplay into a breathtaking masterpiece, while poor execution may render all prior efforts futile. This guide will systematically walk you through the complete workflow from shoot preparation to post-processing, offering practical solutions tailored to common pain points for beginners.
🔍 Scientific Preparation Before the Shoot—Laying the Foundation for Success
1️⃣ Equipment Checklist (Scenario-Specific Versions)
Indoor Shoot Essentials:
🔹 Costume: Inspect all seams and adhesive areas, especially underarms, knees, and other stress points. Bring spare buttons/hook-and-loop fasteners.
🔹 Wig: Prepare a wig cap, hairspray, and a small comb (Tangle Teezer’s portable version is recommended). Bangs are the most prone to deformation during shoots.
🔹 Props: Check the stability of movable parts, such as the guard of a Demon Slayer Nichirin Blade.
Outdoor Shoot Add-ons:
🔹 Emergency Kit: Include safety pins (at least 10 in various sizes), double-sided tape (for securing wig sideburns), and a stain remover pen (for costume touch-ups).
🔹 Weather Preparedness: Bring a clear umbrella (doubles as a prop) for rain and a portable fan (to control wig movement) for sunny days.
🔹 Special Gear: A 5-in-1 reflector (80cm), a folding stool (for changing shoes), and insect repellent (mandatory for forest settings).
Case Study: At the 2023 New York Anime Con, renowned cosplayer "Luna" encountered a broken headpiece during her Genshin Impact Ganyu shoot. Thanks to her preparation with quick-dry glue and spare hairpins, she repaired it in 15 minutes without disrupting the schedule.
2️⃣ The Art of Location Selection: Matching Environments to Character Traits
Outdoor shoots are a favorite among cosplayers, offering natural backdrops and free lighting. Parks, with their lush greenery, suit fantasy or historical characters like those from Genshin Impact, while abandoned factories perfectly complement cyberpunk or post-apocalyptic themes (e.g., NieR:Automata).
As one seasoned cosplayer shared: "Shooting 2B in an abandoned factory—the rusted pipes and concrete walls naturally recreated the game’s dystopian vibe, far more authentic than any studio backdrop." For outdoor shoots, scout locations 1–2 weeks in advance to confirm:
🔹 Lighting direction (optimal morning/afternoon angles)
🔹 Foot traffic (avoid disruptions)
🔹 Permit requirements (especially for commercial or derelict sites)
Studio Shoots provide full environmental control, ideal for detail-oriented creators. Professional studios ($20–50/hour) offer advanced lighting and backdrops. Beginners on a budget can improvise a home studio: a plain white wall paired with two LED fill lights (under $50 total) suffices for basic shoots.
Pro Tip: Avoid pure white backdrops (edges may bleed during chroma keying); light gray or beige paper creates natural depth and is more practical.
Timing is critical for lighting quality. Avoid harsh overhead noon light (11 AM–2 PM), which casts unflattering shadows under eyes and necks.
Golden Hour Rule: The first hour after sunrise and last hour before sunset deliver soft, warm light—ideal for outdoor shoots. Overcast days act like natural softboxes, providing even lighting with no shadows, perfect for highlighting feminine grace.
Location Selection Summary:
Free Locations (Maximizing Efficiency):
🔹 Parks: Opt for dense trees (creates depth); best before 10 AM (fewer visitors).
🔹 Abandoned Buildings: Secure permits via historical preservation societies (apply 2 weeks ahead); bring spare shoes (avoid costume stains).
🔹 Home Setups: Use white curtains + LED lights for soft lighting; ensure at least 3×3 meters of space (proper lighting distance).
Paid Locations (Cost-Effective Picks):
🔹 Studios: Prioritize rentals ($20–50/hour) with cyclorama walls, track lighting, and fog machines (essential for magic-themed characters).
Location Scouting Checklist:
🔹 Lighting angles (varies AM/PM)
🔹 Background clutter (trash bins, wires—hard to edit out)
🔹 Ground conditions (can you lie/kneel for poses?)
🔹 Power outlets (if using lighting equipment)
3️⃣ Gear Configuration and Camera Settings: From Beginner to Pro
Beginner Equipment (Budget-Tiered Options):
🔹 Smartphone Setup: Modern iPhones or high-end Android devices can produce solid results in Pro mode. Key settings: Lock exposure, disable auto-enhance, and attach a wide-angle lens (~$20) for dynamic framing.
🔹 Entry-Level DSLR Kit: Cameras like the Canon 200DII paired with a "holy trinity" lens (e.g., 50mm f/1.8, ~$100) deliver pro-level bokeh.
🔹 Essential Accessories: A tripod (prevents blur, $20 basic), 5-in-1 reflector ($15), and LED fill light ($30+) form an affordable starter trio.
Baseline Camera Settings (Adjust per Environment):
🔹 Outdoor Sunny: f/2.8 aperture (full subject clarity), 1/500s shutter (freezes motion), ISO 100 (minimal noise)
🔹 Indoor Studio: f/8 (deep focus), 1/125s (syncs with flash), ISO 400 (balances brightness/quality)
🔹 Low-Light/Night: Max aperture (e.g., f/1.8), 1/50s (tripod needed), ISO 1600–3200 (tolerable noise)
Beginner Pitfalls to Avoid:
🔹 Ditch Full Auto Mode: It causes overexposure or color shifts. Use Aperture Priority (A/Av) or Manual (M).
🔹 Action Shot Rule: For jumps or weapon swings, shutter speed ≥1/250s (1/500s for fast motions).
🔹 Focus Tricks: Never rely solely on autofocus. Manually select focus points (typically the eyes).
📸 Self-Portrait and Collaborative Shoot Techniques – Transforming Stiffness into Vitality
1️⃣ Expression, Pose Design, and Composition Rules: Visualizing the Character’s Soul
Professional Techniques for Weapon Handling:
🔹 Swords/Blades: Hold at a 45° angle to catch light reflections while showcasing both the weapon and the cosplayer’s facial expression.
🔹 Firearms: Press the stock firmly against the shoulder, elbows tucked in to form a stable triangle, avoiding a "toy-like" appearance.
🔹 Staffs/Wands: Hold with one hand while the other forms a casting gesture (fingers spread for added dynamism).
Expression Management Tips:
🔹 Arrogant Characters: Slightly raised chin (~15°) + narrowed eyes (showing 70% of the iris), as if looking down on an opponent.
🔹 Energetic Characters: Tilted head (~10°) + widened eyes (revealing upper whites) + natural smile (no lower teeth showing).
🔹 Sad Characters: Slightly furrowed brows + downward gaze (focus on an imaginary spot on the ground) + slightly parted lips.
Character Embodiment Training:
🔹 Expression Library: Capture 9 key expressions (calm/angry/sad, etc.) from the source material and practice daily for 10 minutes using a phone’s front camera.
🔹 Muscle Memory: Break down iconic poses (e.g., Gojo Satoru’s Unlimited Void from Jujutsu Kaisen) and record videos to check angles.
🔹 Motion Capture: Use burst mode for dynamic shots (turns/sword swings), then select the 3 most character-appropriate frames.
Golden Rules of Composition:
🔹 Advanced Rule of Thirds: Place the character’s eyes on the upper horizontal line, with weapon tips pointing to intersection points for dynamic flow.
🔹 Diagonal Composition: Align the body along the frame’s diagonal to emphasize action (e.g., Demon Slayer breathing stances).
🔹 Negative Space: Leave more space (~1/3 of the frame) in the direction of the character’s gaze to enhance storytelling.
Common Beginner Mistakes:
🔹 "Amputated" Framing: Avoid cutting at joints (wrists/ankles); leave at least 10cm buffer space.
🔹 Dead-on Stare: Direct eye contact with the lens can look like an ID photo. Instead, use a "through-the-lens" defocused gaze for depth.
🔹 Flat Poses: A 30°–45° side angle naturally showcases body lines; avoid stiff frontal shots.
🔹 Pro Tip: Start practicing expressions and poses in full costume during the first fitting—muscle memory is most effective at this stage.
2️⃣ Self-Reliance: Zero-Cost Self-Portrait Guide
When budgets are tight or quick documentation is needed, mastering self-portraits allows you to produce quality work independently. A 2023 cosplay community survey revealed that 78% of cosplayers relied on self-portraits for their debut works.
3️⃣ High-End Smartphone Self-Portrait Setups
Equipment Combinations:
🔹 Basic (<$50): Phone tripod (with Bluetooth remote) + reflector (80cm silver/white) + adjustable desk lamp.
🔹 Intermediate (<$200): Fill light (Godox SL60W) + softbox (60cm) + non-woven backdrop.
🔹 Pro (<$500): Tripod (Manfrotto PIXI) + phone lens (Sirui 18mm wide-angle) + portable green screen.
Camera Settings:
🔹 Android: Enable Pro mode—ISO 100–400, shutter 1/125s, WB 5500K.
🔹 iPhone: Use Halide app for RAW format, exposure compensation +0.7.
🔹 Universal: Lock focus, then reduce exposure slightly to avoid overblown highlights. Shoot 4K video and extract frames for natural expressions.
Composition Rules:
🔹 Upper-Body Shots: Leave 1/4 headroom; crop just below the waist (~10cm).
🔹 Full-Body Shots: Feet at the frame’s bottom, 30% headroom (for post-processing flexibility).
🔹 Close-Ups: Align eyes with the upper third grid intersections.
4️⃣ Solo Workflow Demonstration
Step-by-Step:
🔹 Setup: Position the phone at chest height (upper-body) or waist height (full-body), with ≤15° tilt.
🔹 Lighting: Key light (window/lamp) at 10 o’clock; reflector at 4 o’clock to fill shadows.
🔹 Remote Control: Hide the Bluetooth remote in your hand (disguised as a prop); press with knuckles to avoid visibility.
🔹 Live Preview: Use a smartwatch (e.g., Apple Watch camera control) to monitor shots.
🔹 Batch Shooting: Capture ≥20 variations per pose (slight head turns, prop adjustments).
Quick Post-Processing:
🔹 Snapseed: Brighten eyes with Local tool; correct perspective distortion with Perspective.
🔹 Meitu (Overseas Version): Use Blemish Removal for costume wrinkles; Lengthen tool for proportions (≤5% adjustment).
🔹 PicsArt: Add particle effects (ideal for magic-themed roles), keeping opacity ≤30% for realism.
5️⃣ Limitations and Breakthroughs in Self-Portraits
Unavoidable Drawbacks:
🔹 Limited Dynamic Range: Severe loss of detail in backlit scenes.
🔹 Unnatural Bokeh: Algorithm-based blur often fails.
🔹 Fixed Angles: Difficulty achieving creative high/low-angle shots.
Innovative Solutions:
🔹 Mirror Technique: Use a full-length mirror to create a "third-person perspective" (ideal for showcasing back designs).
🔹 Timer + Burst Mode: Set a 3-second delay for continuous actions (e.g., turning, swinging a sword), then select the best shot from 30 attempts.
🔹 Multi-Device Sync: Use a tablet as a monitor (connect to the phone camera via TeamViewer).
Case Study: TikTok creator recreated Chainsaw Man's Makima in a rain scene using two phones (one for shooting, one for lighting), a showerhead for rain effects, and post-processing particles—earning 500K likes.
6️⃣ The Complete Guide to Photoshoots: Finding Your Ideal Photographer
Collaborating with professionals elevates your work, but the market is mixed. Here’s how to identify the right partner.
7️⃣ Golden Standards for Photographer Selection
Portfolio Analysis Checklist:
🔹 Character Fit: Check if they’ve shot similar series (e.g., a Genshin Impact-specialized photographer understands character aesthetics).
🔹 Lighting Style: Distinguish between Japanese bright tones (for school-themed roles) and Western low-key lighting (Gothic characters).
🔹 Composition Flaws: Watch for distractions (e.g., poles "growing" from heads) and awkward cropping.
Must-Ask Questions:
🔹 Gear: Full-frame camera + 85mm lens is ideal for cosplay portraits.
🔹 Raw Delivery: Industry standard is 50 unedited shots/hour.
🔹 Post-Processing: Includes retouching, color grading, or effects?
🔹 Contingency Plans: Backup options for bad weather/equipment failure.
Price Tiers:
🔹 Students ($50–100/h): Practice opportunities; you provide location/makeup.
🔹 Semi-Pro ($150–300/h): Basic editing included; may charge travel fees.
🔹 Professional ($500+/h): Includes concept design, lighting crew, and retouching.
8️⃣ Key Clauses in Shoot Contracts
5 Essential Terms:
🔹 Copyright: Clarify commercial use rights (e.g., competitions/merchandise).
🔹 Cancellation Fee: Typically 50% of the deposit (applies to both parties).
🔹 Photo Selection: Will you receive all raws or a pre-selected batch? (Request RAW files.)
🔹 Revisions: Usually 2 rounds of edits for retouched images.
🔹 Force Majeure: Free rescheduling for extreme weather.
Deposit Best Practices:
🔹 Use PayPal Goods & Services (never personal transfers).
🔹 Amount: 30% of total fee (>50% is risky).
🔹 Memo: Label as "Cosplay Photography Deposit" for legal clarity.
9️⃣ On-Set Coordination Tips
Workflow for Efficiency:
🔹 Warm-Up (15 mins): Share reference images and confirm the first angle.
🔹 Peak Time (40 mins): Prioritize challenging poses (e.g., jumps).
🔹 Creative Phase (30 mins): Experiment with unconventional angles (low/high shots).
🔹 Final Checks (20 mins): Capture missed details (prop close-ups).
Communication Examples:
🔹 "Can this angle highlight the headpiece’s layers?"
🔹 "I want stronger shadows to reflect the character’s personality."
🔹 "Shoot at the height of my third rib."
Pro Tips:
🔹 Take 5-minute breaks hourly to avoid stiff expressions.
🔹 Review test shots in real time.
🔹 Document camera settings for post-processing reference.
Cautionary Tale: At 2022 San Diego Comic-Con, a cosplayer received only 20 raw shots after 3 hours (vs. the standard 150) due to unclear verbal agreements—highlighting the need for written terms.